This past August, I was fortunate enough to be sent to the US to cover two events at two different racetracks in California. Both circuits are professionally run and operated to world-class standards.
As a photographer, I consider it a privilege to be able to shoot events at both venues. You don't always get an assignment at Sonoma Raceway or Mazda Raceway Laguna Seca, right? So I had to find ways to get myself close enough to the action. With security and safety of prime importance on both circuits, prior arrangements had to be made for me to have access to both circuits' prime shooting spots.
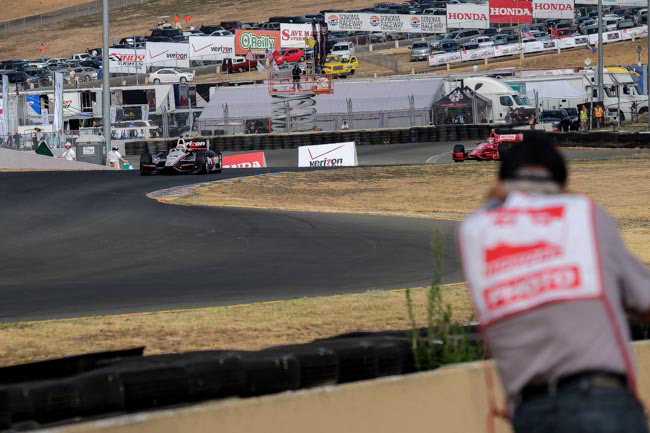
Sonoma Raceway was busy that particular weekend. Aside from Michele Bumgarner's PRO Mazda race events, it was also an IndyCar weekend, the penultimate one of the 2014 season at that. For those unfamiliar with IndyCar, let's just say it is the US equivalent of Formula 1, minus the snobbishness and restrictions associated with the FIA's crown motorsport.
Presenting my credentials to the event's media center, which handled press accreditation, was the first order of business. After registering as a photographer for the weekend, I was supposed to attend a photographer orientation seminar to be conducted by seasoned shooters of the track. Here, they told the attending photographers about the dos and don'ts while shooting inside the track, where to walk along the track perimeter, when and where to cross to the other side of the circuit, even where the best shooting locations were. The veterans were very helpful and they readily answered questions all in the name of safety and a good day's work.
After the brief talk, we were all given a photographer's flag. It was basically a bib to wear during the course of the weekend to identify us while working inside the track. Armed with a Fujifilm X-T1 and 55-200 lens, I was then ready to walk around the circuit to get my shots. The nice thing about working with a small system is that you can walk all day and not feel weighed down by your gear. And looking at the other shooters with me this weekend, it looked like I had made the right choice of equipment to bring along.
To get close enough for the tight action shots, I had to pass through locked perimeter fencing by opening a combination lock. It was the same number code for all locks around the track. Once inside, there were cut-out sections of the track fencing where you could stand and shoot from. The rest of the catch fencing and concrete walls should offer some protection for us photographers in case of an on-track incident.
This was almost the same setup in Laguna Seca. With track section access a little more lax here due to the chill-out nature of the MX-5 Miata 25th Anniversary celebration, anyone could transfer from one area of the track to the other. Naturally, being in Laguna Seca, the corkscrew was where I would like to set up camp and shoot. However, only the official photography service provider for the weekend had access beyond the locked fences, and I just had to do with what I could spot from the spectator areas.
Now, shooting at Clark International Speedway or Batangas Racing Circuit during official race weekends presents almost the same challenges. You will have to coordinate with the racing secretariat or the media center for each venue to be given your high visibility photographer's vest. Like the two famous American tracks, there are also strict restrictions on crossing the circuit once the cars are let out on the track at CIS or BRC. So you'd better make sure you pick your spots right, and be aware of the ways and means to get in and out of the locations.
Another thing to remember is that shooting trackside requires an extra amount of stamina as the daytime heat--along with the long walking distances--can cause dehydration. Bring along extra bottles of water with you, maybe some sunscreen, too, just to protect your skin from the harsh sun. Rain gear for you and your cameras should also be considered.
Finally, not all of us have access to high-speed pro-bodies and fast 2.8 telephoto lenses or zooms, so it would be best to master your camera by practicing and experimenting with the settings that your gear can afford. Just remember to set your shooting mode to continuous burst so you'll have a number of photos to pick the good ones from.
At the end of the day, just stay alert and keep an eye open at the track as you work with what you have to capture the shots that you or your clients need.
For inquiries about automotive photography, don't hesitate to shoot me an e-mail at mikkomiks@gmail.com.
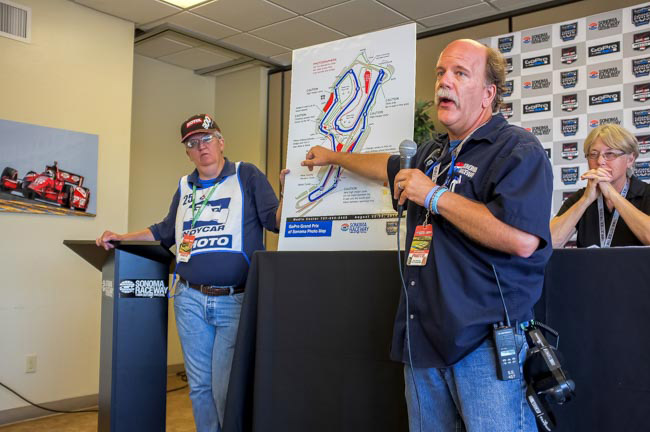
Sonoma shooting vets showing us the ropes around the track
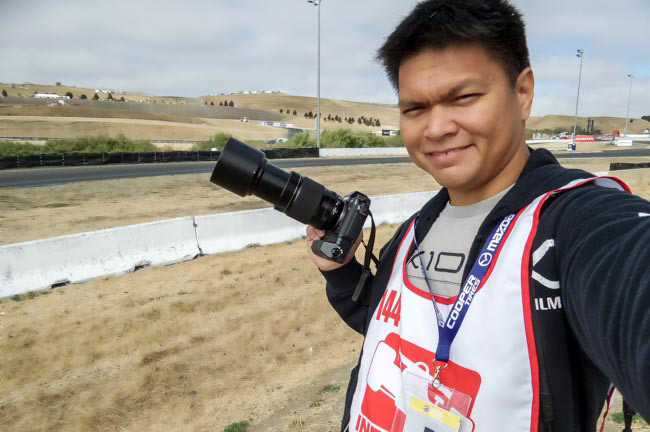
All geared up and ready to shoot
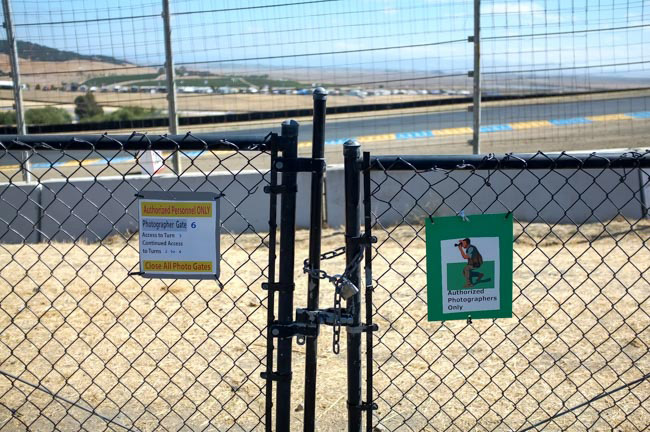
Locked perimeter fencing to keep out spectators from venturing trackside
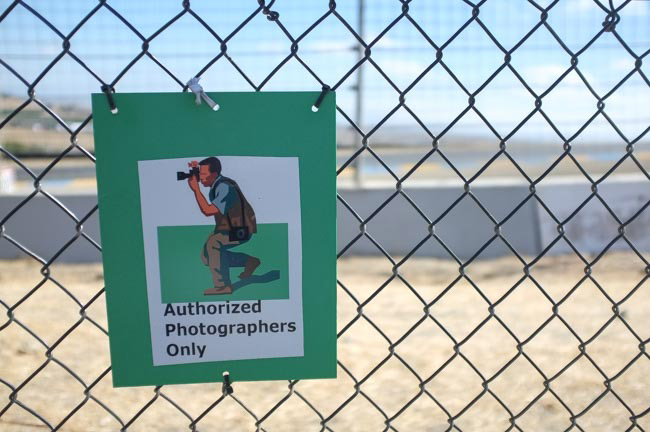
This could be you
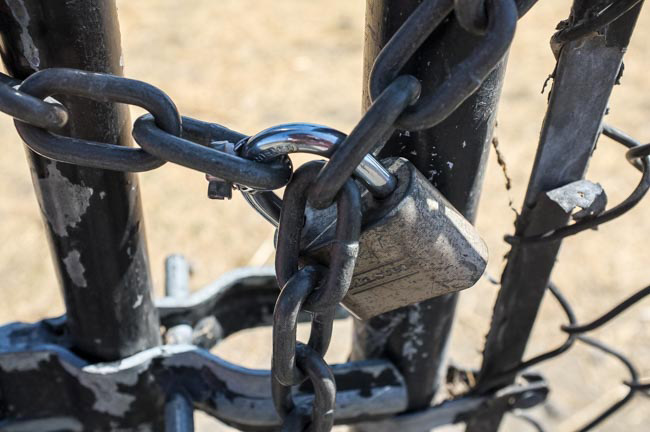
You must lock the gates after passing through them
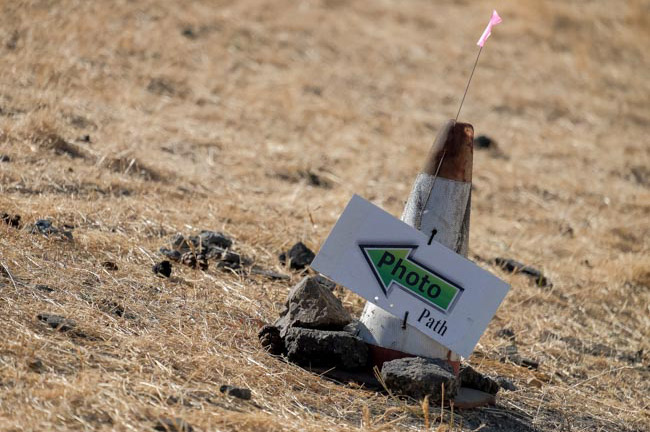
Ignore these and you'll get pulled out of the track
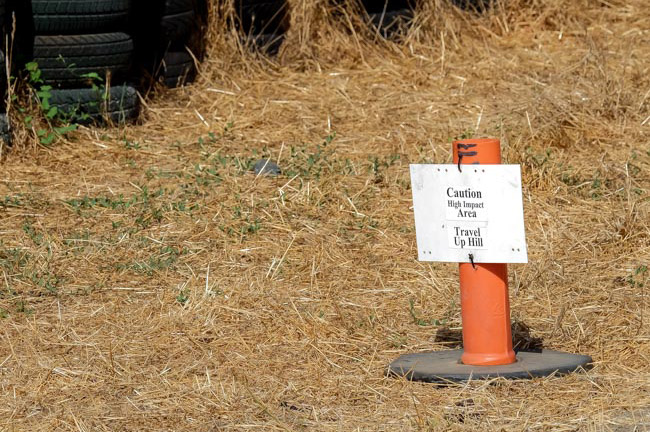
Always keep an eye open for approaching cars
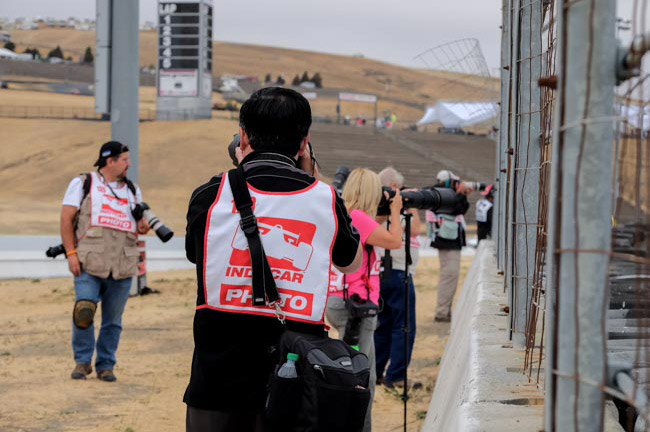
Long lenses are necessary for trackside shooting so you can get close to the action
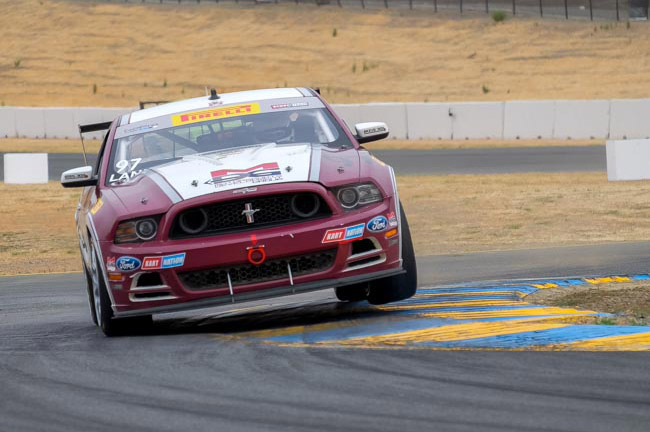
At the right time and the right place to capture that moment
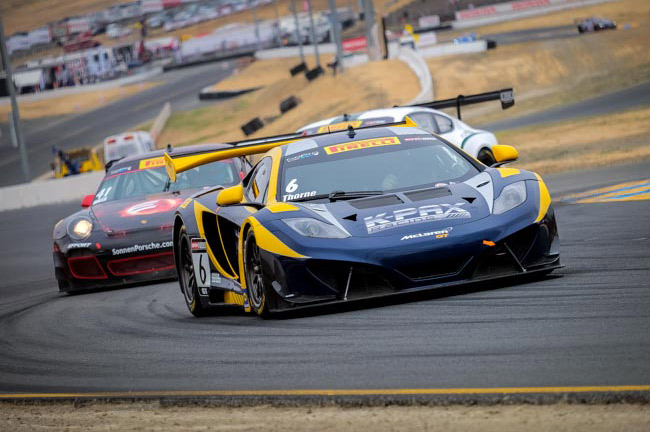
Fast lenses (F 2.8 or lower) allow you to isolate your subject
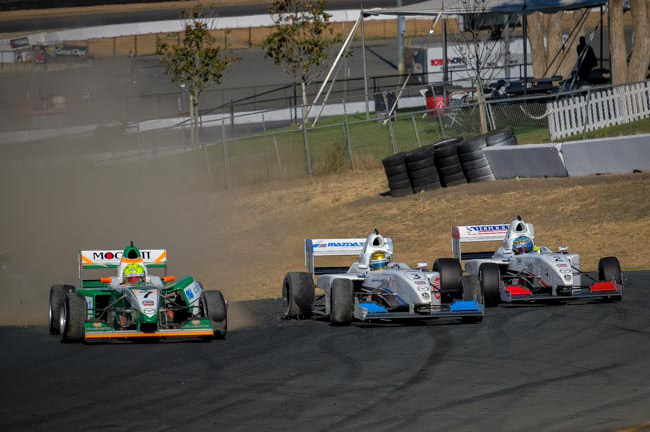
Capture opening-lap melees by using fast shutter speeds (1/4000, F4.8, ISO 320)
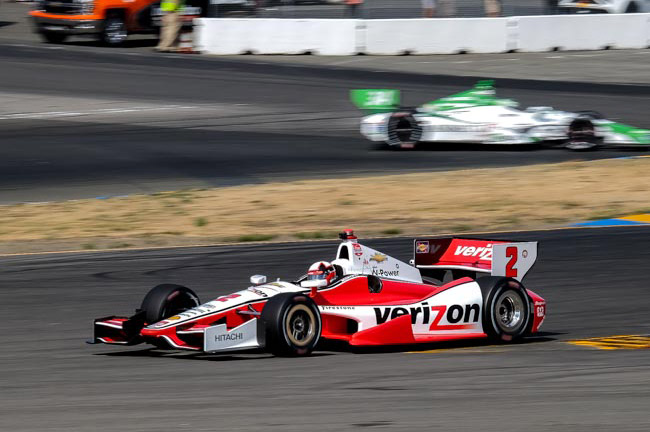
Blur those backgrounds by slowing down your shutter openings (1/180, F13, ISO 100)
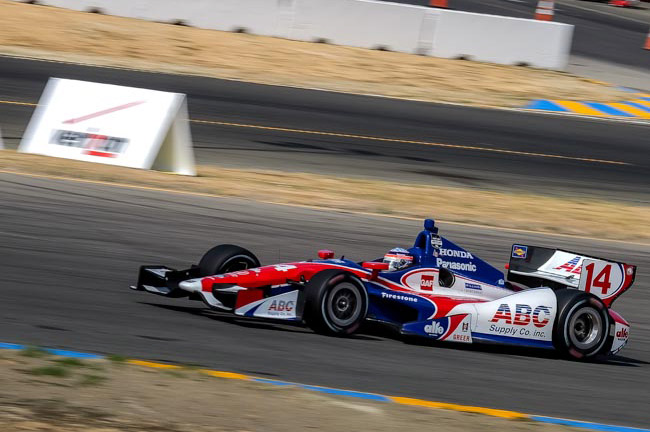
There's a fine line between blurred backgrounds and blurred subjects. Look for the
shutter speed that will allow you to achieve the former without sacrificing subject sharpness
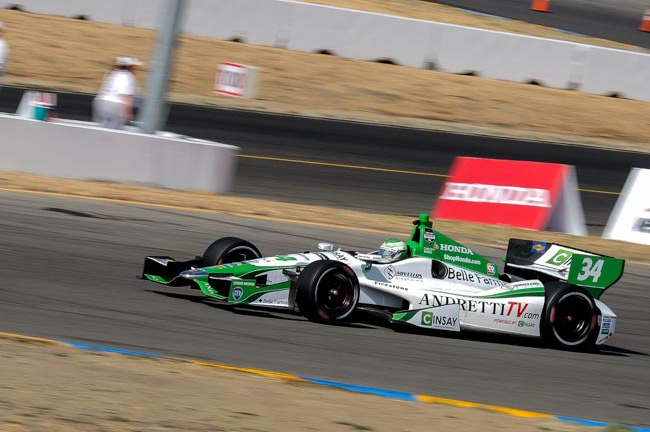
Mounting your camera and lens on a monopod can also lessen
blur caused by the up-and-down movement of your hands


