
When you drive in the Philippines, you learn that sometimes offense is the best defense. Driving around EDSA with errant bus drivers and cutting motorcycles means that visibility on the road is a priority. It's the difference between a normal morning commute and becoming a metal sandwich because that truck in the left lane wanted to turn right and 'didn’t notice' your compact car.
Being visible doesn’t mean that your car has to be huge or be painted in a garish color, however. You can also make your presence known with the help of a powerful car horn.
While most cars ship from the factory with diminutive horns to match their size, changing your busina is actually a cheap and easy DIY upgrade that you can do in a few minutes with some simple tools. Here is a step-by-step guide on how to do it.
Take note that if you have any doubts as to how to change your horn, or if you are not so mechanically inclined, it is always easier and less of a headache to let the professionals do it for you. Thankfully, wherever you buy your horn, skilled hands are normally available to help you change it at a moment’s notice. With that out of the way (and with you realizing that what you do to your car is your own risk), let’s get started:
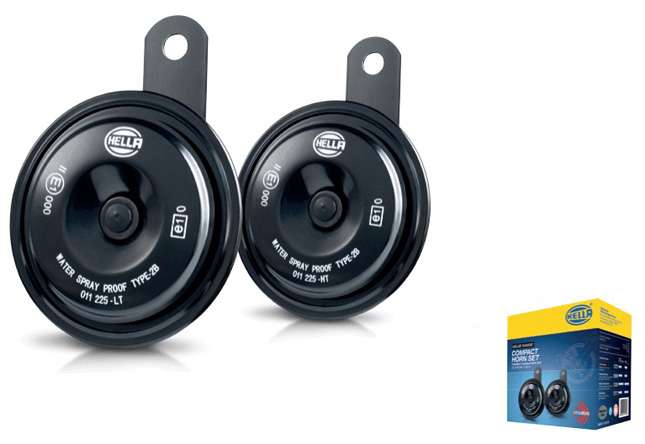
1) Buy your new horn. There are a lot of shops that offer aftermarket car horns. From Italian-made air horns that make your car sound like a European exotic, to larger and much more powerful ones that disguise your car as an EDSA bus, the shops along Evangelista (in Makati) and Banawe (in QC) have you covered. Make sure that the horn you buy can fit in your car’s engine bay easily. It’s always free to ask, so make sure someone in the shop is familiar with the make and model of your vehicle.
2) Disconnect the battery of your car. The horn is an electrical component, and to ensure you and your car’s safety, disconnect the negative battery cable from your battery and set it aside.
3) Find your horn. It should look like a circular or snail-like plastic mechanism attached by a bracket and an electrical connector. If in doubt, reconnect your car battery and toot your horn a few times while a newly deaf friend hunts for the source of the sound.
4) Remove your old horn. Start removing the electrical connector by pushing down on the tab and sliding it off. Then, remove the retaining fastener that holds the horn in. Once these have been done and you confirm that nothing is holding the horn in, remove the whole assembly.
5) Install the new horn. Do the reverse steps on the new horn, attaching it to the retaining fastener and plugging in the electrical connector.
6) Reconnect the battery and test it out. Once you are sure that your new horn is snuggly in place, reconnect the battery and test it out.
If all has gone well, your new horn should blast the living daylights out of anyone in your way. Give yourself a thumbs up, and drive knowing for a fact that your car's new sound will save your hide on an almost daily basis.